THE BOOK OF HAM
Ham is another one of those delicacies we look forward to during the holidays. It is most commonly served during Thanksgiving, Christmas, and Easter and is often accompanied by a killer glaze and mustard. Let’s talk about buying, cooking, removing the rind, hatching, and more.
Chapter Links
ANATOMY
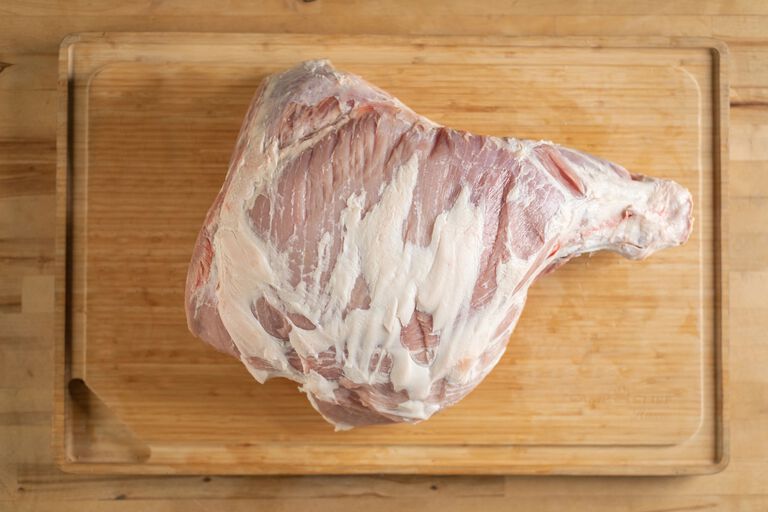
Understanding Ham Anatomy
A whole roasted ham typically comes from the hind leg of a hog. You can buy a variety of different types of ham. A whole ham or commonly known as a Christmas Ham will weigh about 15-17 lbs.
Ham Steak
Between the shank (hind leg) and the butt is a thicker piece of meat known as a ham steak, another date night delicacy. It is typically sold separately and can be found in the pork/ham section at the grocery store. They are most often pre-cooked (smoked, baked, boiled, etc.)
Steamship Ham
If you’re going for presentation for the holidays, opt for the Steamship Ham. The nickname, Steamship, is derived from old steamships crossing the Atlantic, serving large carved ham to passengers banquet style.
Quite obviously large in size, Steamship Hams can be upwards of 25 lbs. It consists of a whole cured and roasted leg, including the top round, bottom round, eye of round, the knuckle and the rump still connected with the shank bone exposed and frenched. The Steamship is more commonly divvied up between the butt and shank. However, the butt is more tender, fattier and typically more flavorful.
When it comes to how much ham you should buy for your gathering, think about ¾ to ½ pound per person. For smaller gatherings or weeknight dinners, you may choose to cook a half ham. To help with visualizing and understanding the steamship ham here is a recipe that will walk you through how to cook one.
Bone in or Bone out
Bone in or bone out ham, that is the question. Many experts suggest that leaving the bone in will yield a juicier, more flavorful ham. Since the bone isn’t a conductor, the meat takes longer to cook and offers a more even cook. It’s also been noted that the bone’s marrow will release different flavors throughout the cook. Like other bone-in roasts we have researched in the past, leaving your bone in will hold the meat together better giving you a better shape and overall presentation.
DRY VS. WET CURED HAM
What is curing? Curing is the process that makes ham…ham. Curing is a chemical alteration to the composition of the ham—typically, a mixture of ingredients such as salt, sugar, nitrates, and smoke. There are two types of ways to cure ham—wet and dry. Wet being the most popular of the pair. Both ways will vary in taste and how you serve them. Let’s have a look.
Dry Cured Ham – Country Ham
A dry cure is similar to a dry brine—it’s done without the use of liquids. The meat is liberally rubbed or even buried in a salt and spice mixture. The ham is then dehydrated by being hung up to dry for upwards of months. People often smoke dry cured hams to bring out even more flavor.
Wet Cured Ham – City Ham
On the other hand, a wet cure is like a wet brine—submerged in a water/salt mixture. A wet cured ham is a more widely known between the two. These are your more common hams like bone in and bone out roasts and are almost always fully cooked.
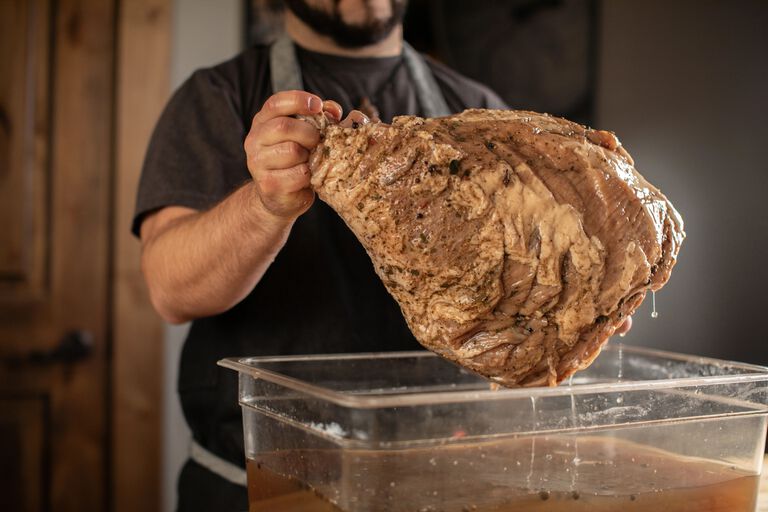
You can wet cure a ham at home. A fair warning, it’s a lot of work and time. Remove the fat, if your pork leg has a layer. Chef Logan uses about a ½ cup of salt per gallon of water. Soak your pork for one day for every two pounds of ham weight. So, if your pork weighs 12 lbs. you will need to soak for six days.
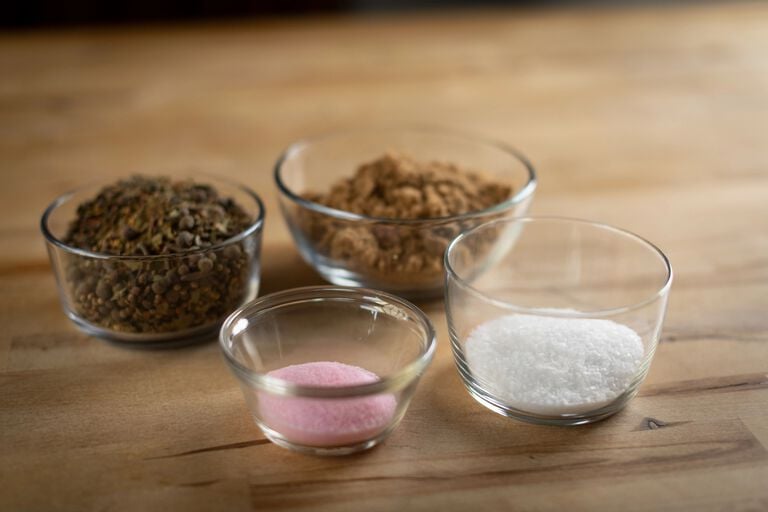
Let’s talk salt specifics. Be sure to use curing pink salt. (Insta cure #1, pink salt, D.Q. Salt.) This is different salt from your table salt. It preserves the ham and gives it that gorgeous pink color. It’s a pre-mixed combo of 93.25% salt and 6.75% nitrite. The nitrate is what gives the ham the rosy, pink finish.
*add water to cover the top of the roast. Place in the refrigerator.
2 liters of water, ¾ cup of kosher salt, 1 cup brown sugar, 4 teaspoons pink salt RINSE
THAWING
When you are planning on cooking a large cut of meat like a ham it is best to be planning a head a few days in advance. Like a turkey it can take a few days to fully thaw out. To help with this process here are a few ways we thaw a ham.
Refrigerator Method
Keep the ham in its original wrapping and place it in a fridge set to 40°F or below. You can typically account for 6 hours / pound. We also recommend placing the ham on a pan or in a container incase there is any leakage or water pooling.
Cold Water Method
In its original wrapping, submerge the ham in cold water. Replace the water with cold water every half hour or so. A large sink, bucket, or pot works well for this method. If you are unsure you have a large enough pot to hold your ham try the 24 qt. or 32 qt. aluminum pots. You can typically account for 30 minutes / pound.
WOOD
Different woods burn differently and not just any variety hardwood will do for a Ham. If you're looking for a classic bold flavor we recommend a Mesquite or Oak pellet base. If you're looking for something on the sweeter side try a Cherry or Apple. And if you're unsure about which hardwood pellets to commit to, the Competition Blend is a safe route.
In our Pro series pellet grills and smokers you can use hardwood chips or chunks. The Woodwind Pro and XXL Pro have our new technology which give significantly more smoke flavor rivaling that of an offset stick smoker. The chips and chunks burn slightly "dirtier". This is where the majority of the flavor comes from. Pellet grills are amazing at flavor and convenience but critics will say they don't provide enough smoke flavor. If you are considering what wood to use and have the capability of picking up a Pro series pellet grill or vertical smoker, the wood you put in the smoke box will determine the ending flavor.
Time + Temp
Cook a fresh ham within a few days of purchasing. All pork should be brought to the USDA recommended temperature of 145°F before being consumed. The most popular ways to cook ham are:
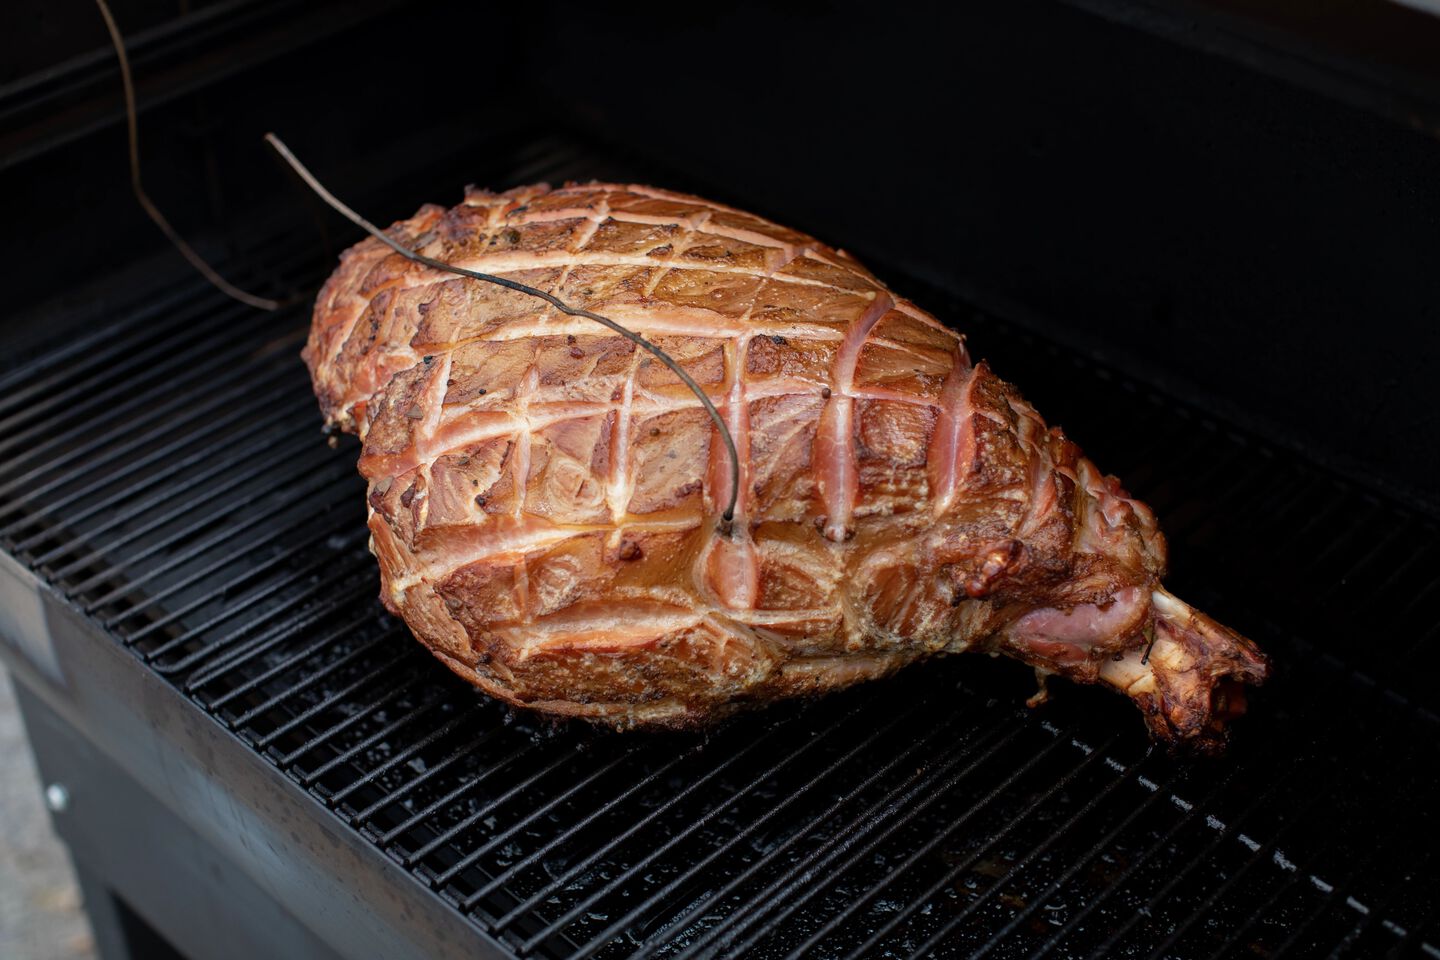
Ham on a Pellet Grill
Using a pellet grill to smoke ham is a great way to continuously add flavor profiles outside of the curing process. Place in a cast iron skillet and cook on the bottom rack, with the fat side, up (if there is one.) Set your smoker to 425°F and place the ham inside. Cook for 30 minutes to get a good sear on the outside. After 30 minutes turn down the smoker to 200°F. Smoke until the ham reaches an internal temperature of 150°F. Open the lid, glaze your ham, and let it ride in the smoker until 155°F. Try using Chef Logan’s Maple-Dijon glaze, it complements the ham perfectly. Tent it after a good crisp. Don’t take it up to 205°F or it will be shredable.
Ham in an Oven
Oven cooking your ham is the more traditional route. There are no added flavors during the cooking process outside of glazes. Place your ham on a baking sheet with the fat side up and bake at 325°F. Cook according to the packaging or about 15 minutes per pound.
Rind Trimming
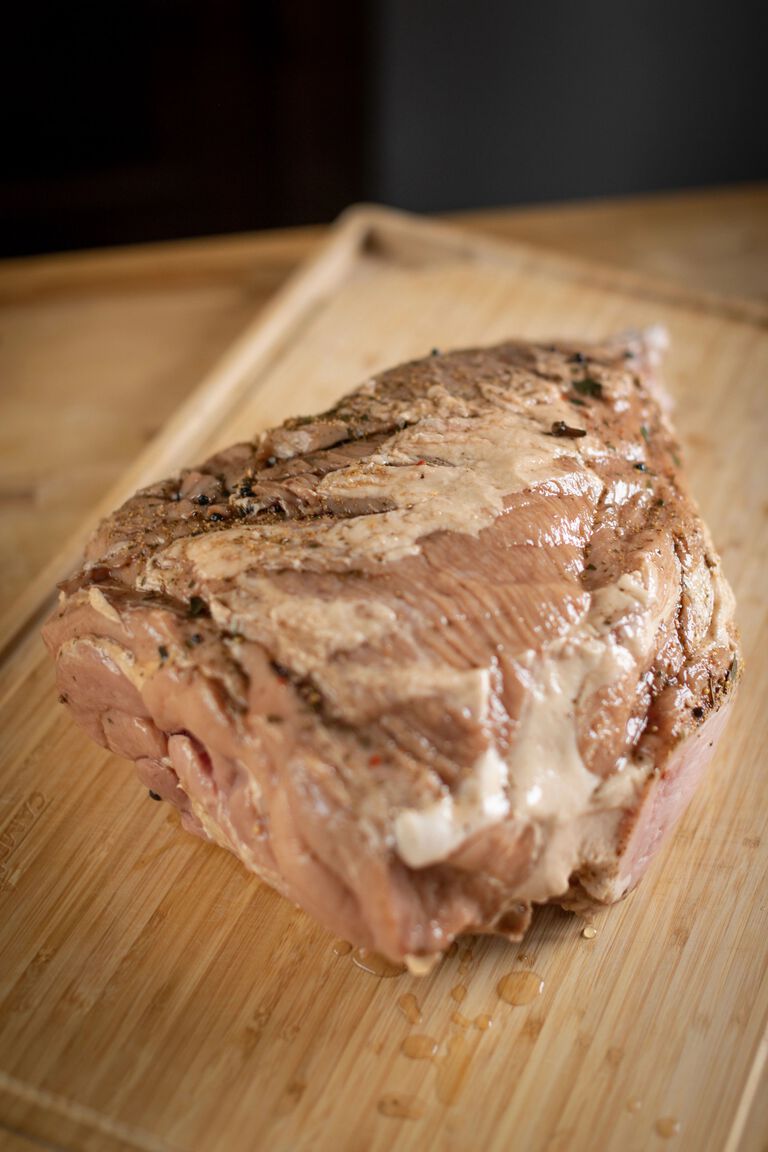
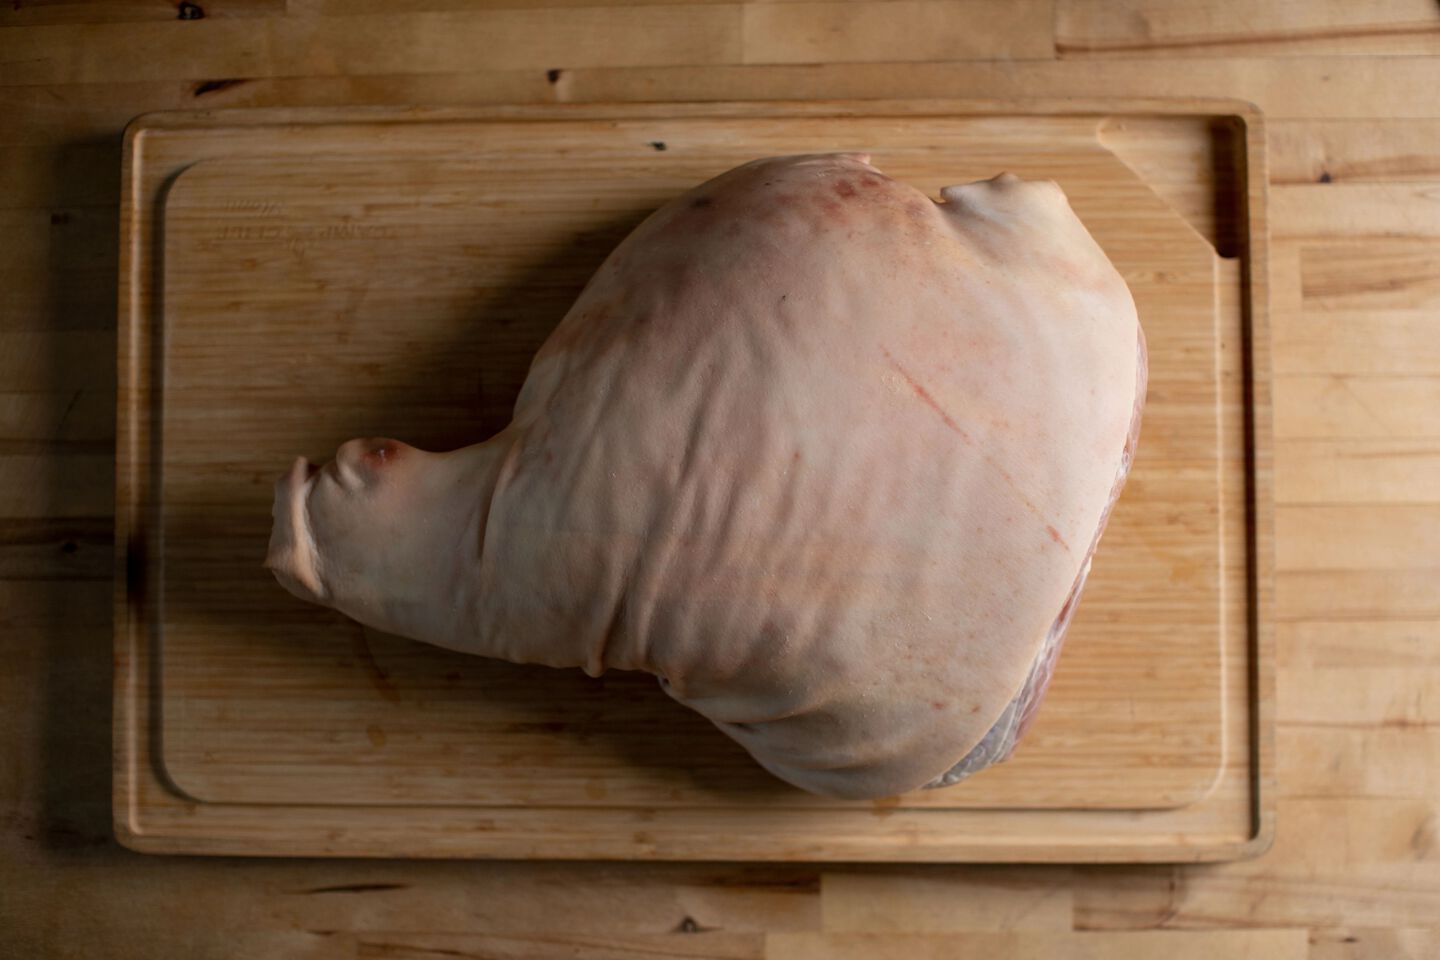
You’ll notice the top of the ham is covered in rind (the bottom will be partially covered.) The rind is not edible. It’s thick and rubbery and even when cooked, it turns leathery.
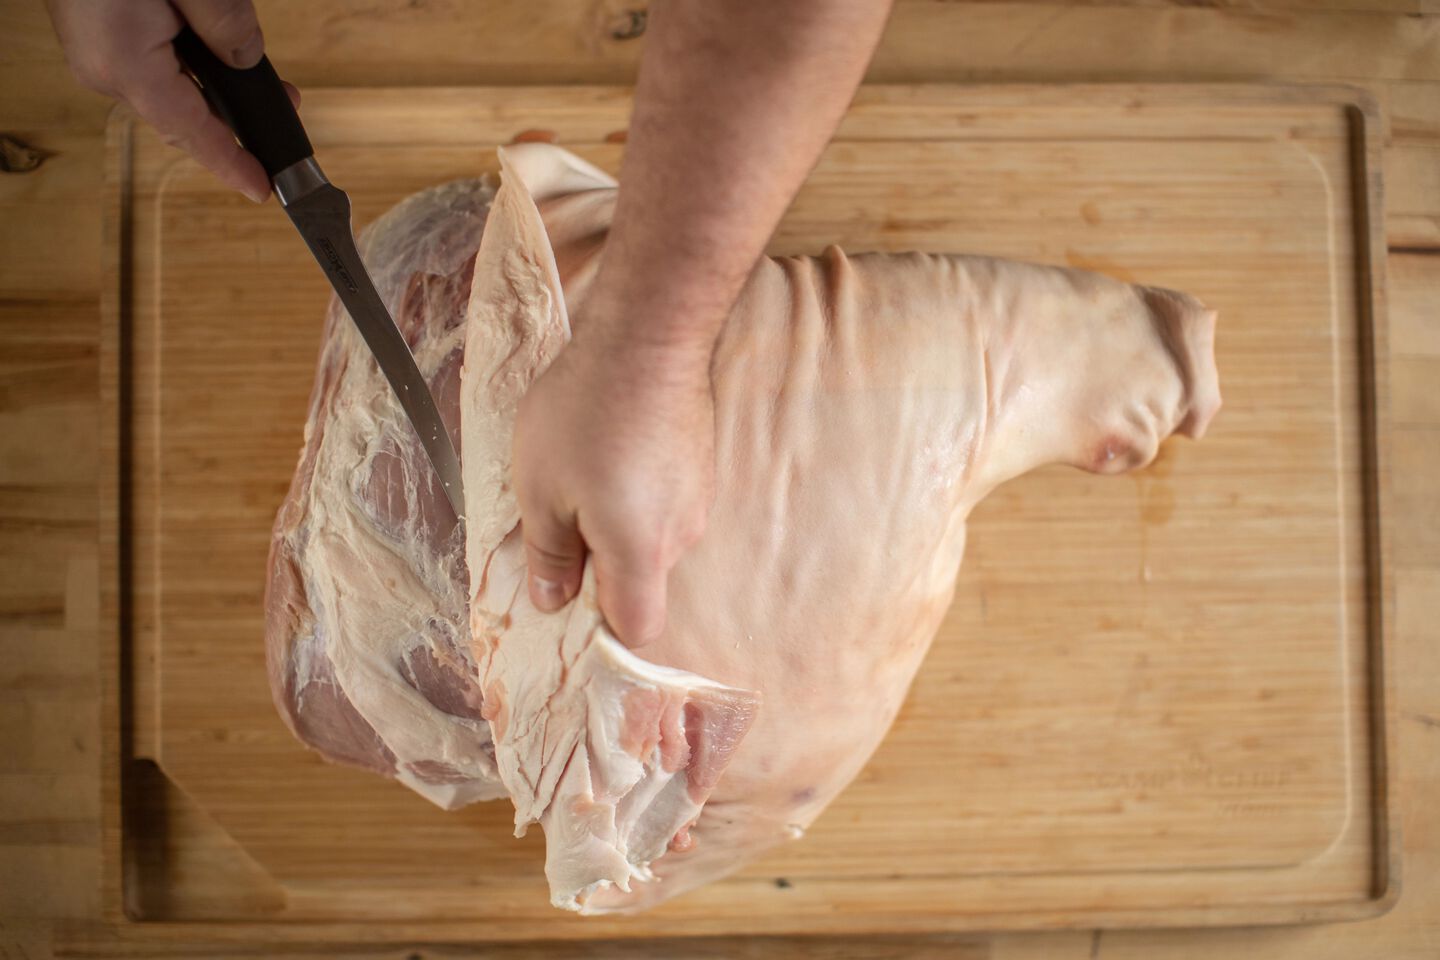
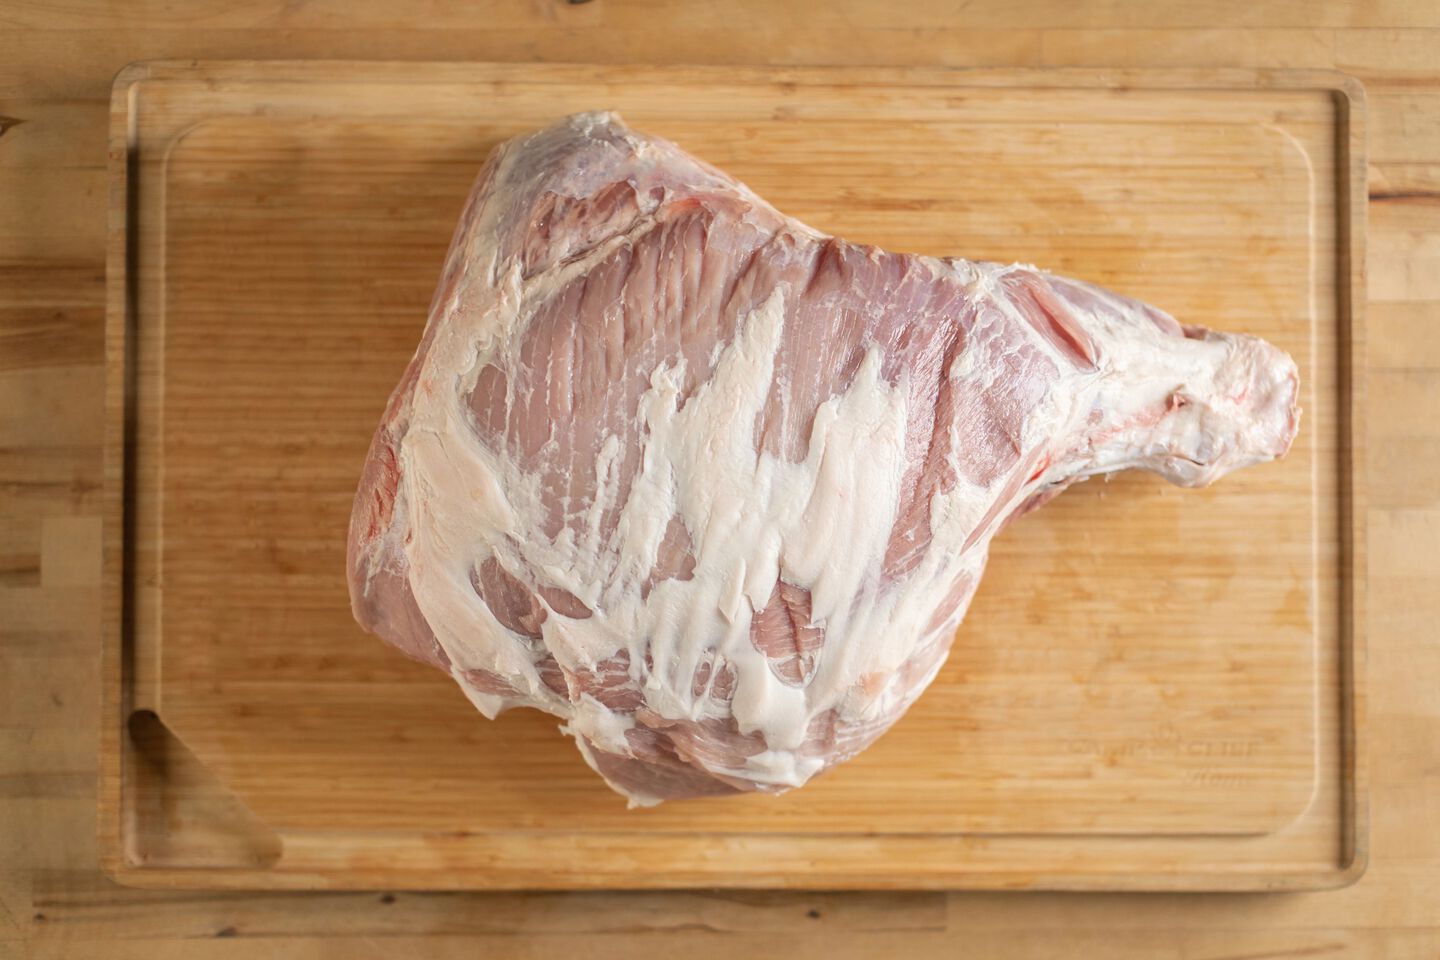
There are a couple way to go about removing the rind and when. You can choose to keep the rind on during the cook and trim the ham rind after it’s been cooked. Leaving the rind on during the cooking process will protect the meat, yielding a moist ham, all while making it easier to trim off the rind. After it’s been cooked and cooled, use a sharp knife or even shears to cut off the rind. Cut around the handle, down each side, run knife around rim, peel back, should come off in one piece.
If you're doing a Full Steamship Ham (like our video.) You can choose to remove the skin prior to brining. After the rind is gone, you can trim the fat—if you chose. Leaving about a ¼ of an inch thickness left covering the ham.
HATCHING / SCORING
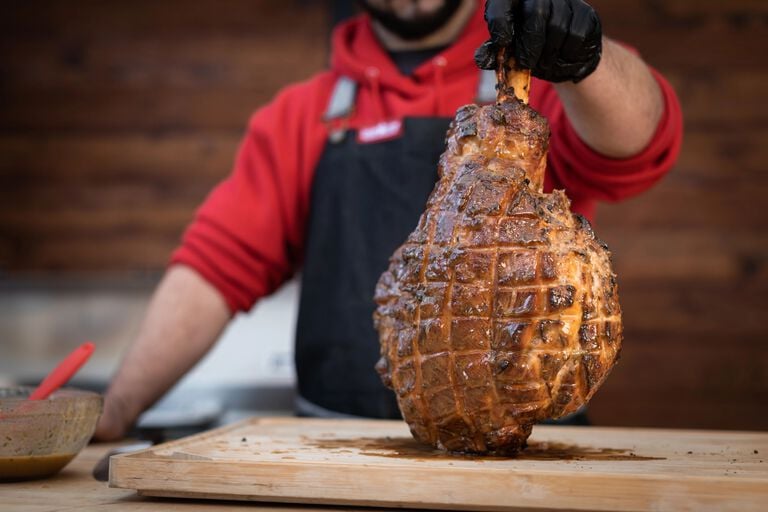
Hatching is done after trimming a ham. Cut about 1/4 to 1/2-inch deep. The bigger the ham—the deeper the slice. We do this to open up the surface area to cook from multiple angles. The juices drip down and redistributes adding more natural flavoring. With a sharp knife begin to cross hatch and score the ham. You may place cloves in the center of the diamond shapes for added flavor and decoration. Brush on your glaze and place back on to the pellet grill.
GLAZES
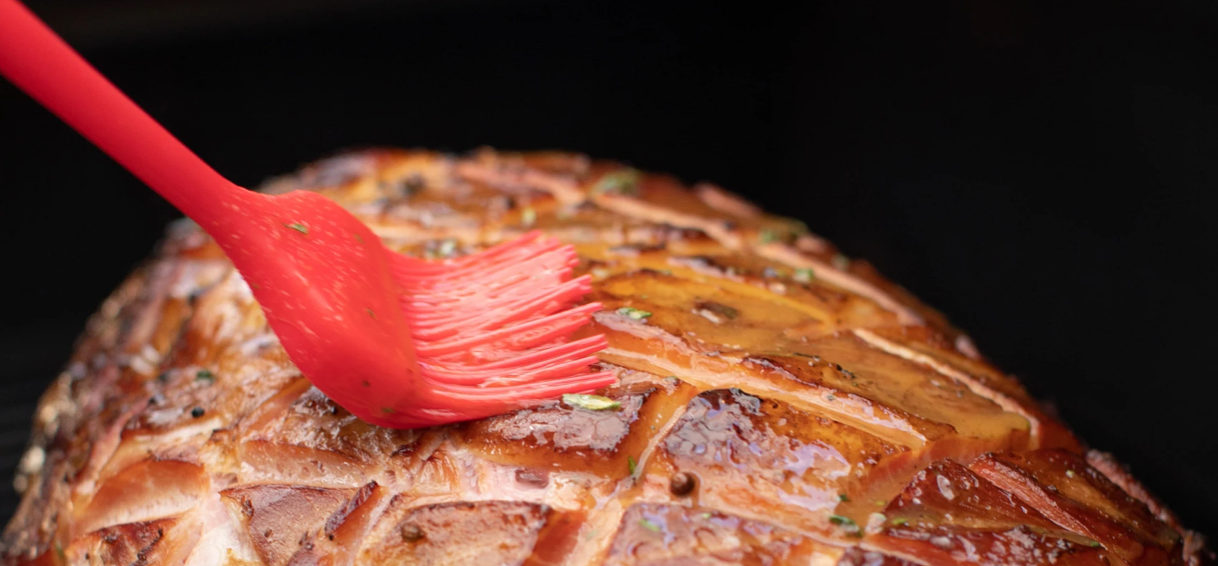
Glazing is done after your ham has been hatched in a crisscross manner. By adding a sweep of homemade glaze you’ll add flavor and caramelization to your ham’s end presentation. Add your glaze towards the tail end of the cook (the last 10-20 minutes.) The exact time is situational depending on the temperature you are cooking at. 10 minutes if you’re cooking at higher temperatures and closer to 20 minutes if you’re cooking at lower temperatures. Be wary that if you leave it on too long it can over cook and ruin your ham.
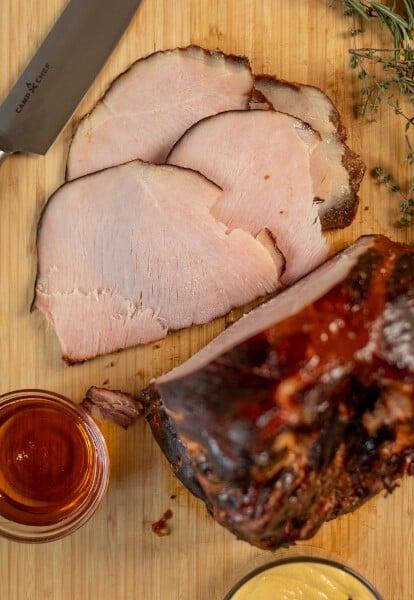
Glazes tend to be on the sweet and tangy side to combat the already salt stricken cured ham. Popular glaze bases start with brown sugar or honey. Try our Honey Ham Glaze or Whole Grain Mustard.
RESTING
While we might equate hogs to already lazy animals, it’s prudent to give your whole smoked ham a short 20–30-minute rest before carving and serving. The act of resting is necessary as the expanded cells, contract and reabsorb the juices.
CARVING
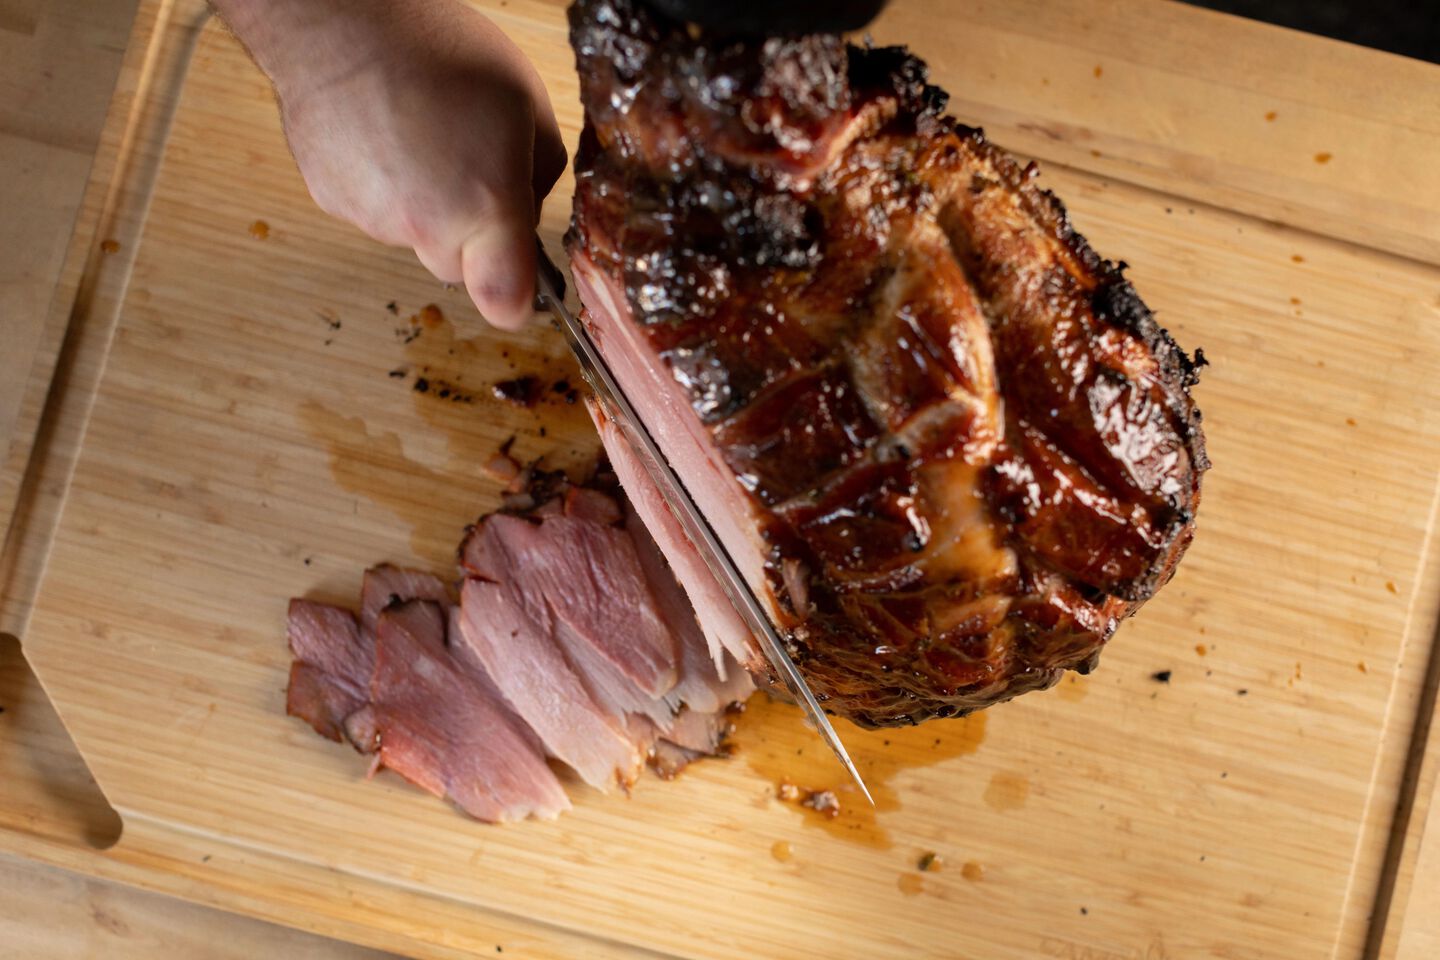
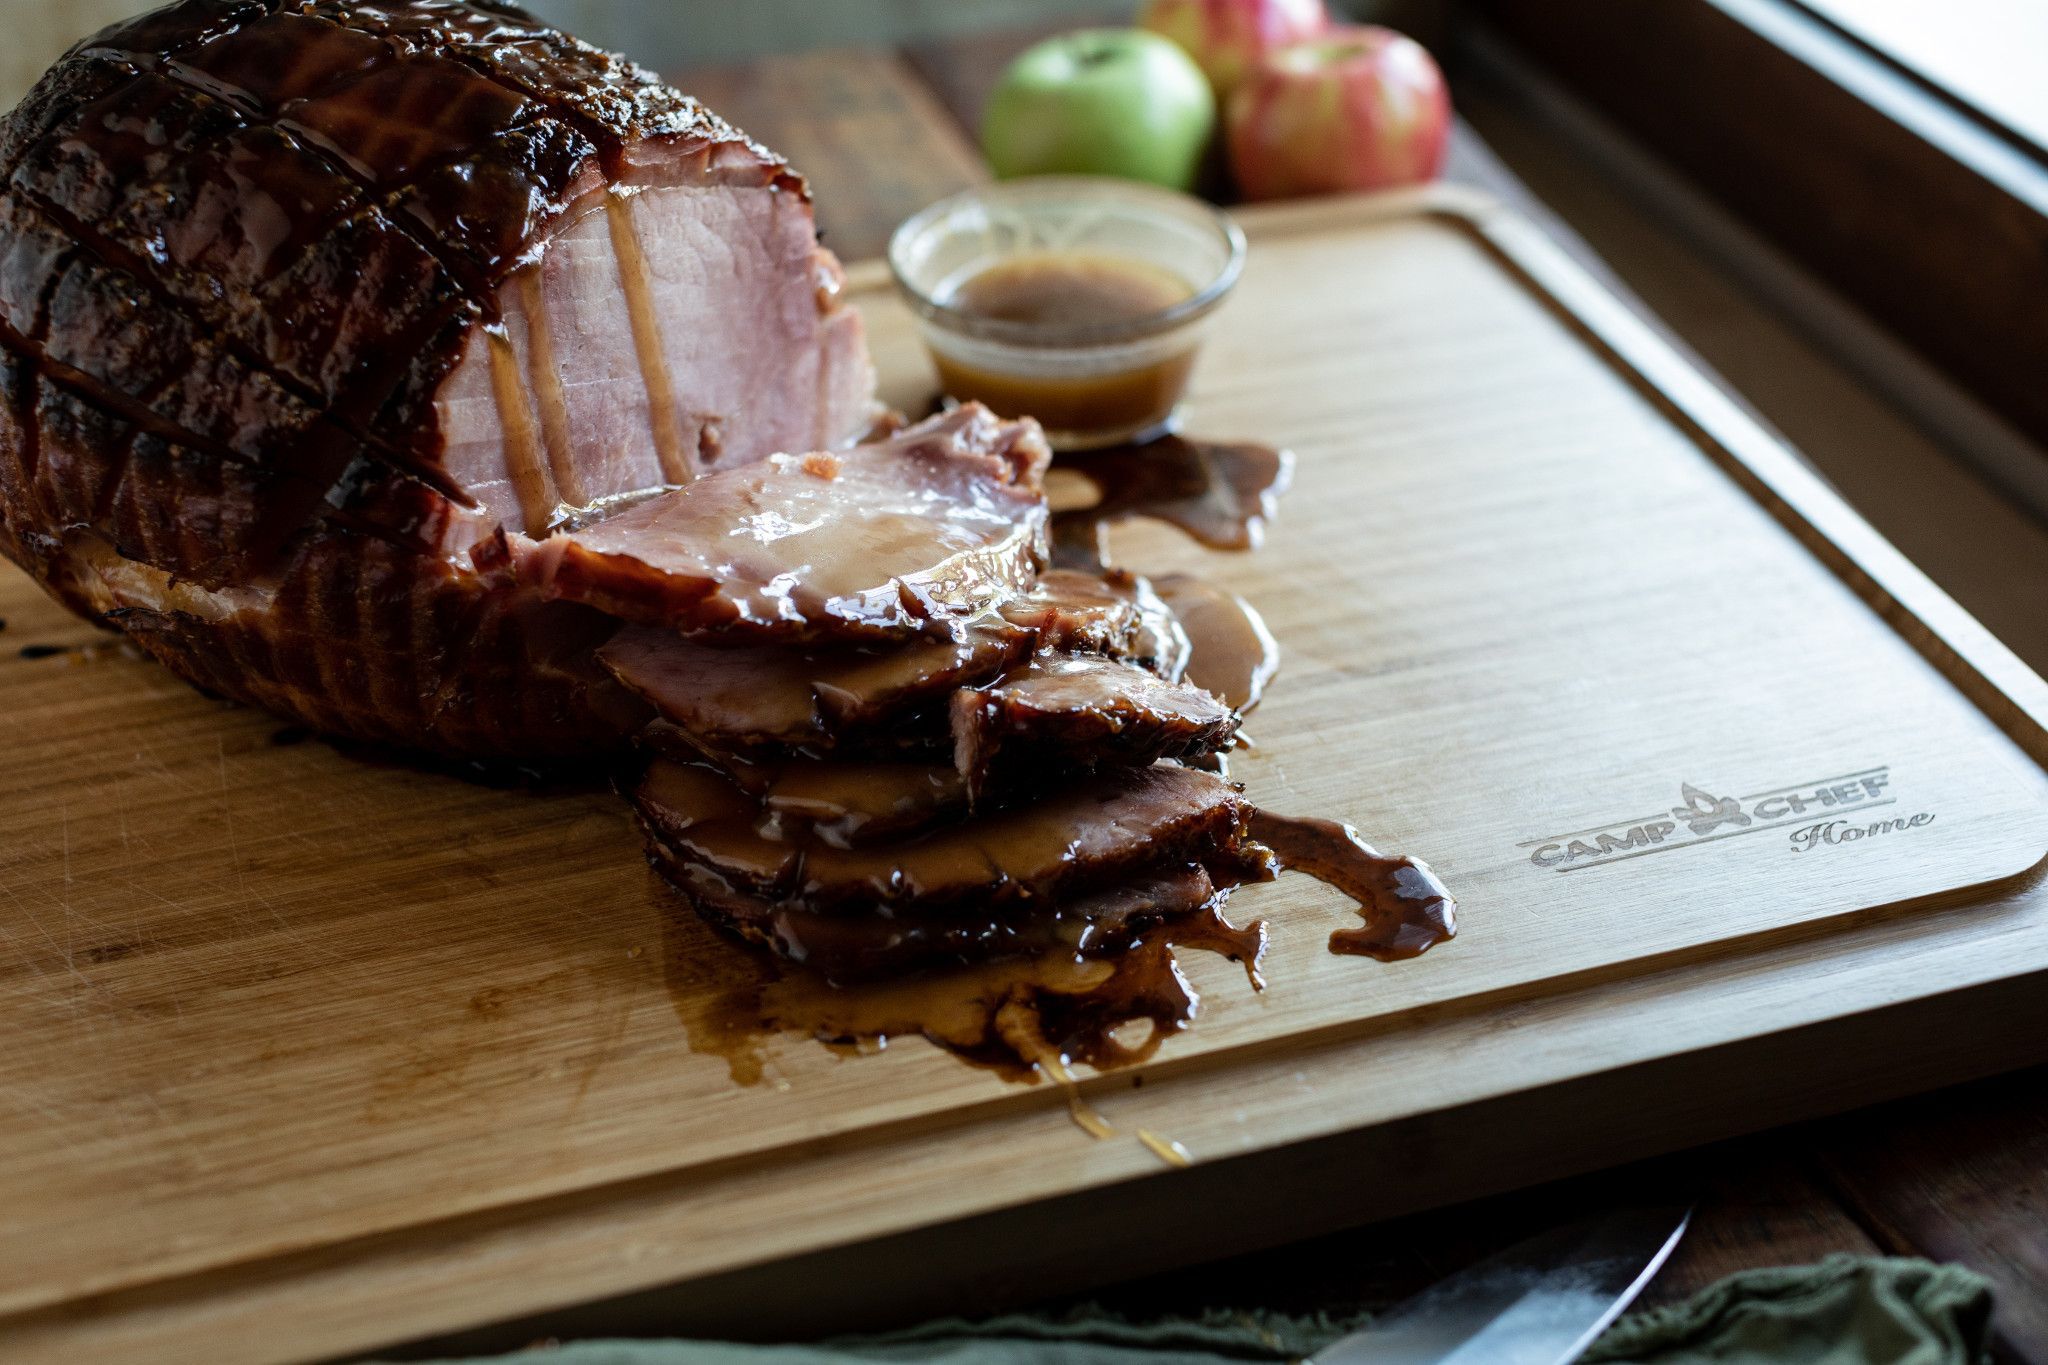
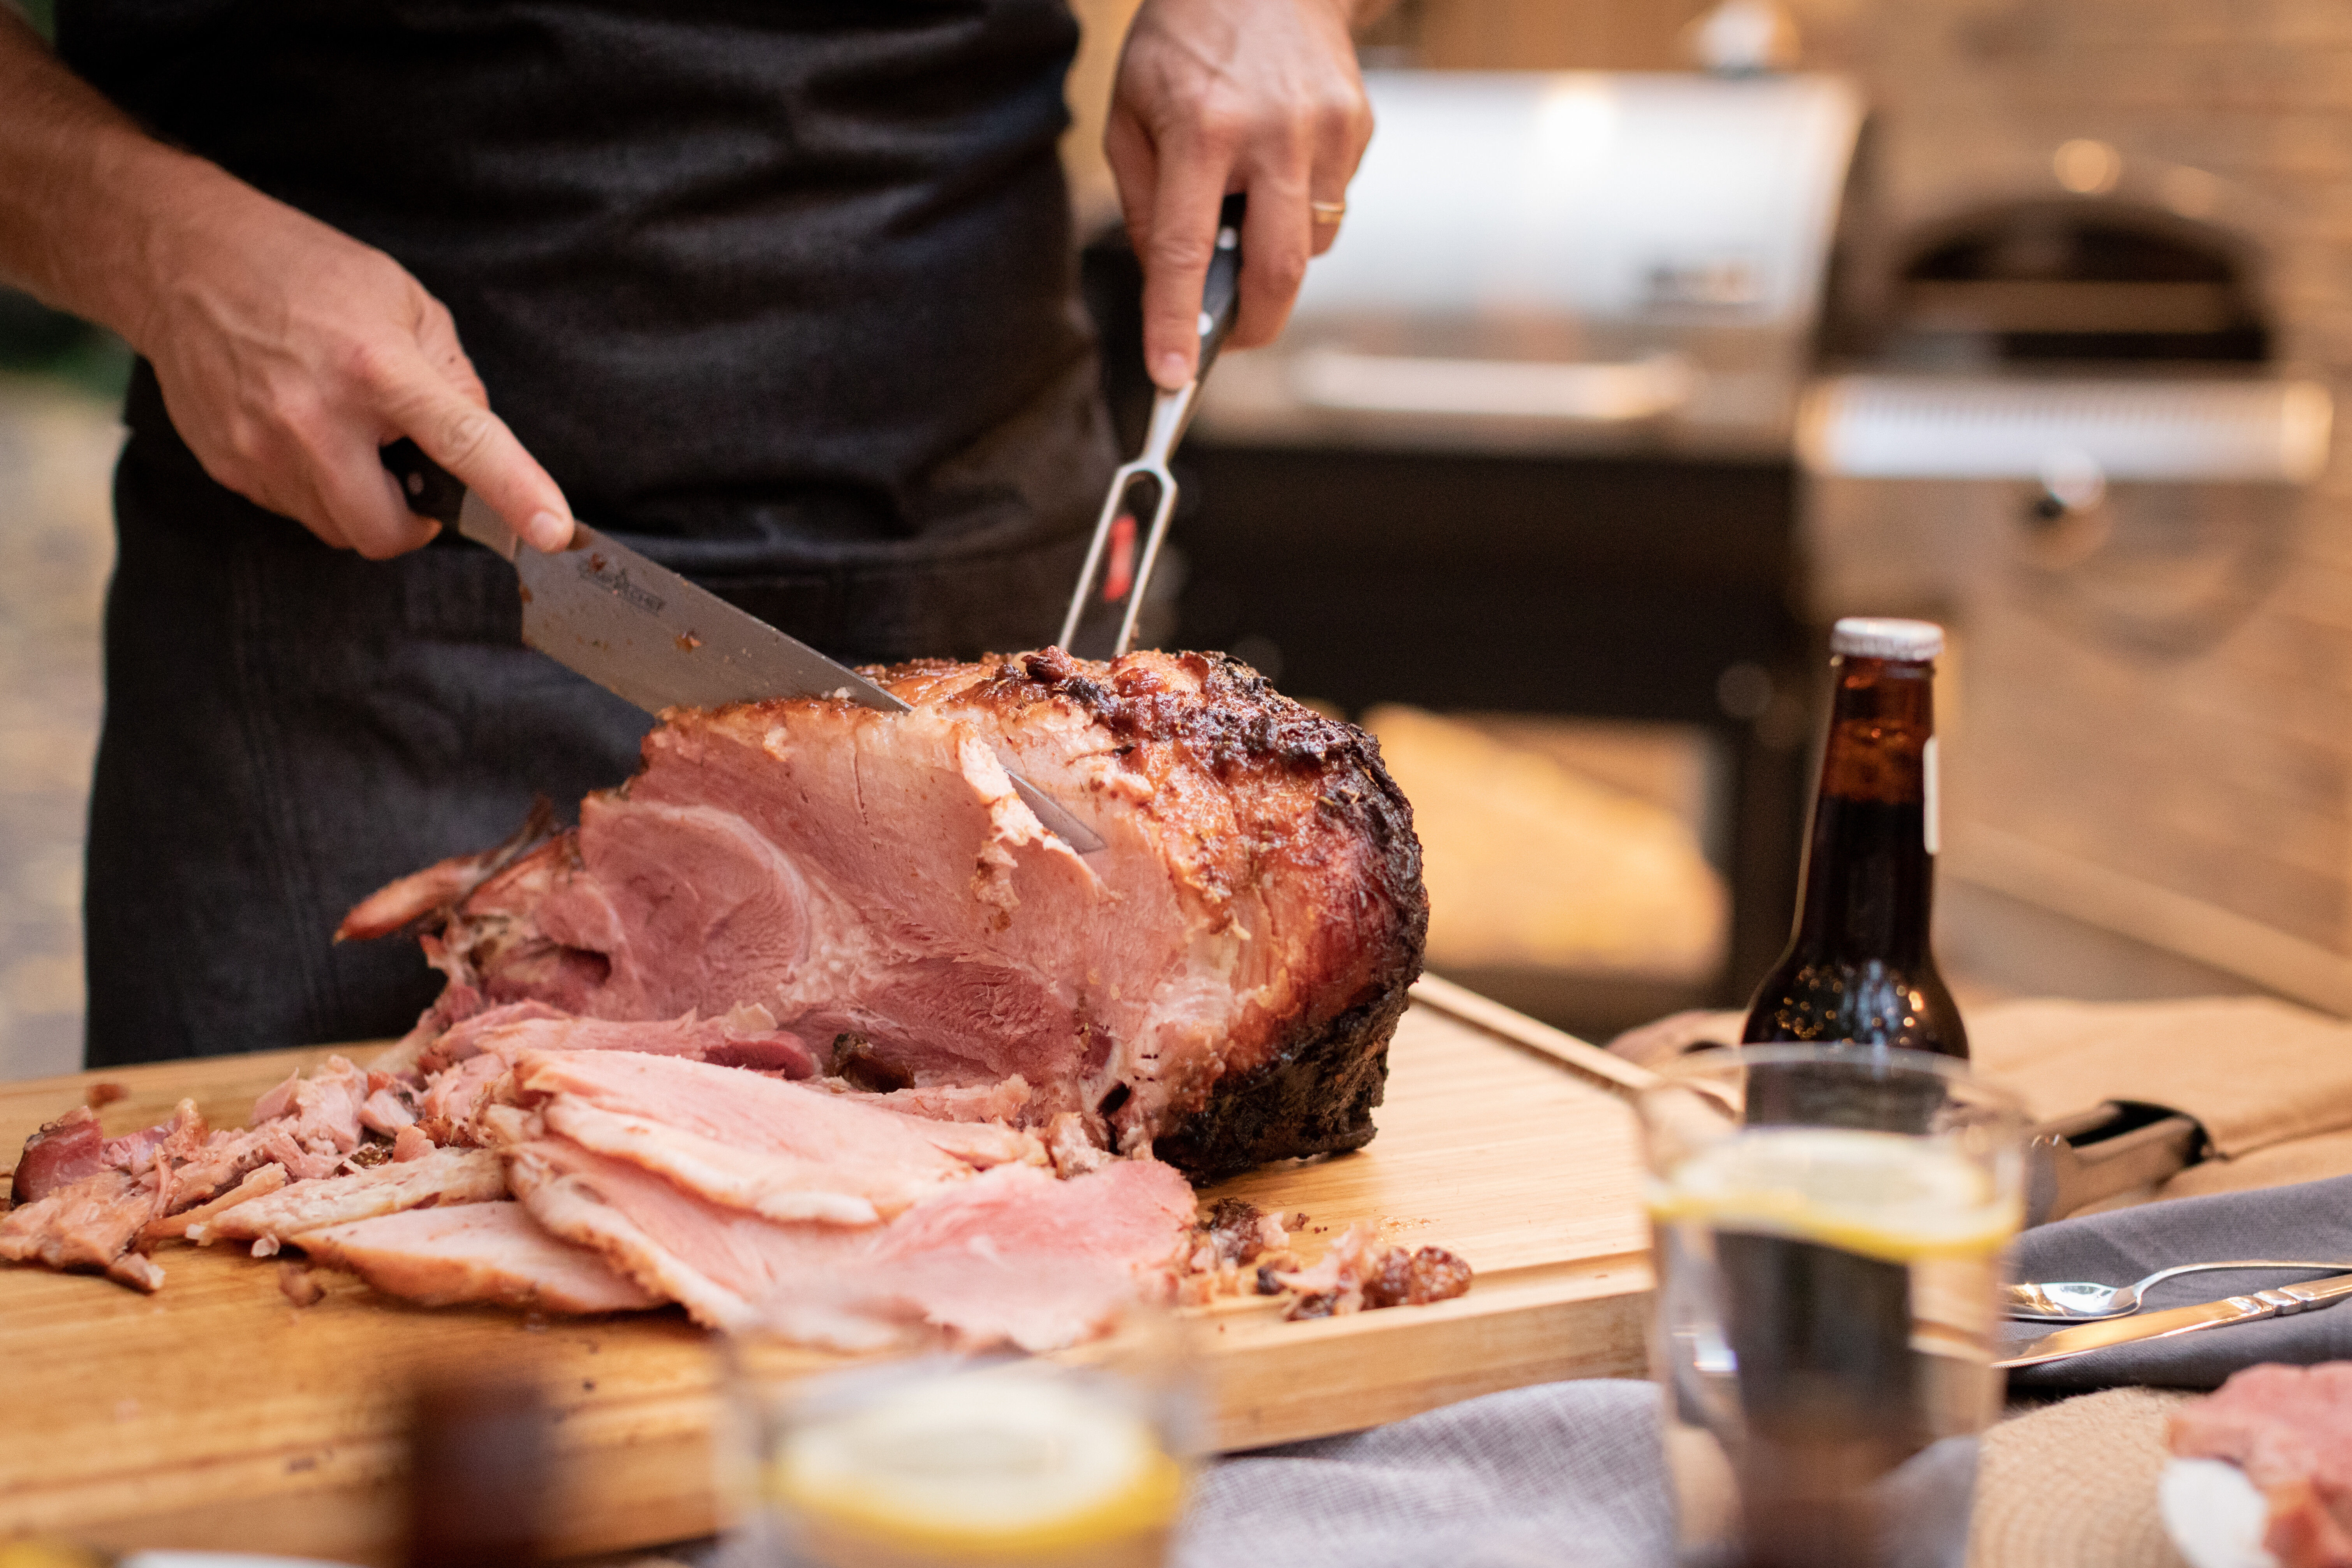
Carve with the flat side down on the cutting board. Use the carving fork in our Chef’s Set to get a secure grip on the ham. With your other hand, use a sharp knife and begin to cut from the top down. Slice to your preferred thickness. Most households go for about a ¼ inch thick. Different cuts of ham sit differently. If you have a Steamship ham and the bone is visible, keep it up, and cut down in even slices.
Serving
Side Dishes
Serve your ham with a variety of holiday sides like baked potatoes, green bean casserole, biscuits, gravy, and seasonal glazes. Mustard, collard greens, mashed potatoes, squash, and other veggies pair well together.
Storing, Leftovers, Reheating
Sliced ham should be used within three to four days. All reheated food needs to reach 165°F internal temperature. Larger pieces of cooked ham can be wrapped and stored in the refrigerator for 7 to 10 days. A whole aged ham can be kept in the refrigerator 4 to 6 weeks.
There are number of dishes that leftover ham will work in. Try the Taylor Ham Breakfast Sandwich or The Great Hambino. Dice into salads, for ham and pea soup, omelets or a charcuterie board.
To reheat, preheat the oven to 275°F and heat for 10 minutes per pound until it reaches 165°F.
A CAMP CHEF HAM
Camp Chef has a variety of products that help make ham smoking seamless. Pick up the 26-inch Bamboo Cutting Board for trimming, seasoning, and slicing your ham. All of our pellet grills have the capacity to smoke a ham-even the Pursuit! Long cooks may result in excess grease so pick up a pack of pellet grill grease bucket liners for easy cleaning.
A Camp Chef style ham means more than just using our products-it also provides a sense of community. If you're on Facebook and have a Camp Chef pellet grill, join this customer-ran pellet grill group called Camp Chef Smoker Smokers.

