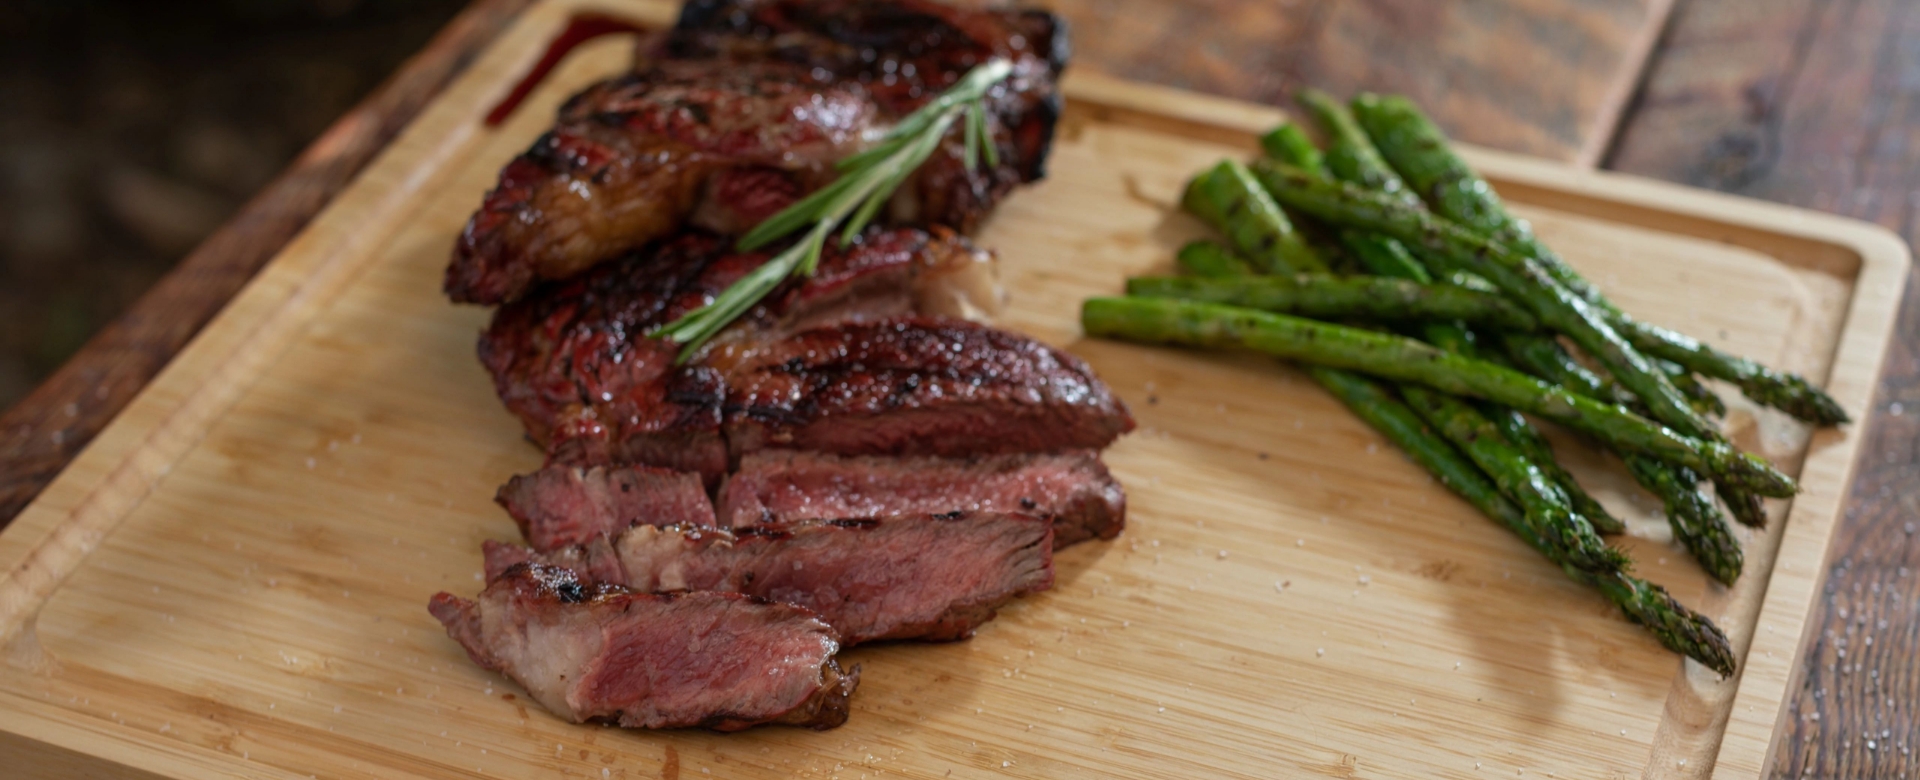
Good steak is a rare gift in the grilling world. It seems as if, for every perfect steak, there are at least a dozen over-cooked/under-cooked steaks elsewhere. Do you struggle with the art of grilling steak? Don't worry-you're not alone.
Until recently, the best (read: only) way to grill a steak was over direct heat, according to most of the outdoor cooking world. You were supposed to sear it on high heat to get that browned crust on the outside of the meat while keeping it medium-rare internally.
However, this method created a gradient of color in your meat. The outside may have been seared to perfection, but the inside was a scale from gray to pink rather than an even color throughout. In other words, the only part of your steak that was a nice medium-rare was the very center.
That's where the reverse sear method comes in.
According to Meathead Goldwyn of Amazing Ribs, the reverse sear method was first attempted in the 1970s by Dr. Bruno Goussault or Chef Jean Banchet. They cooked the meats to temp via the sous vide method (in a bag in low-heat water baths) and seared them afterward. What this did was create an even cook and color on the inside of the steaks while also offering a nice, caramelized crust on the outside. From there, the method spread slowly and found its way into the wider BBQ world around the early 2000s.
Today, it continues to grow in popularity among pit masters and home cooks alike. It's the best way to guarantee the results you want. Meathead Goldwyn compares the reverse sear method to hitting a slow-moving target. That precise temp is much easier to hit when the heat is rising slowly and steadily. Here's five ways to successfully reverse sear a steak using your Camp Chef products.
Convinced yet? Give it a try.
The Method
- Choose a steak that is at least 1.5 inches thick (thinner cuts than this will cook too quickly and work better with the traditional searing method).
- Season both sides of the steak with salt and pepper.
- Preheat your pellet grill to 225° F
- Cook the steak on this lower heat until it hits 10-15° below your desired temperature (medium-rare is 130-135° F).
- While the steak cooks, preheat the Sidekick Sear to high heat.
- When the steak is ready for searing, place it on the heated Sidekick Sear (a cast iron skillet with some oil will also work).
- Sear for about 45 seconds on one side, then flip and repeat. You may hold it sideways on the grates as well to sear the sides.
- You can serve immediately or let it rest for a minute or two. Either way, enjoy!
The Pros of Reverse Searing
- True, even color throughout the meat
- More consistent and reliable results
- Easier to master
- Tender, juicy interior
- Caramelized, seared exterior
The Cons of Reverse Searing
- Takes more time than throwing a steak on a skillet and searing for a few minutes.
- Your friends and family might start asking you to cook steaks for them all the time.


